Apple has a new version of macOS called Monterey that you’ll find in the Software Update pane in System Preferences. However, if you want to update the old-fashioned way, we’ll show you what you need to create a bootable macOS Monterey installation drive. (Editor’s note: These instructions are for the officially released version of macOS Monterey, not a beta. It was performed on a Mac running macOS 11 Big Sur.)
Get an external drive and maybe an adapter
The macOS Monterey installer software is over 12GB, so you need a USB external drive that can hold that much data. The drive can be a thumb drive, hard drive, or SSD.
If you have a 2015 or newer Mac laptop that has Thunderbolt/USB-C ports, you may need Apple’s $19 USB to USB-C adapter. This will allow you to connect a storage device that uses a USB type-A connector. If you don’t have an external drive and you have a USB-C Mac laptop, you could buy the SanDisk Ultra USB Type-C Flash Drive, which has a USB-C connector. You can get model number SDCZ460-032G-G46 for $9 on Amazon.
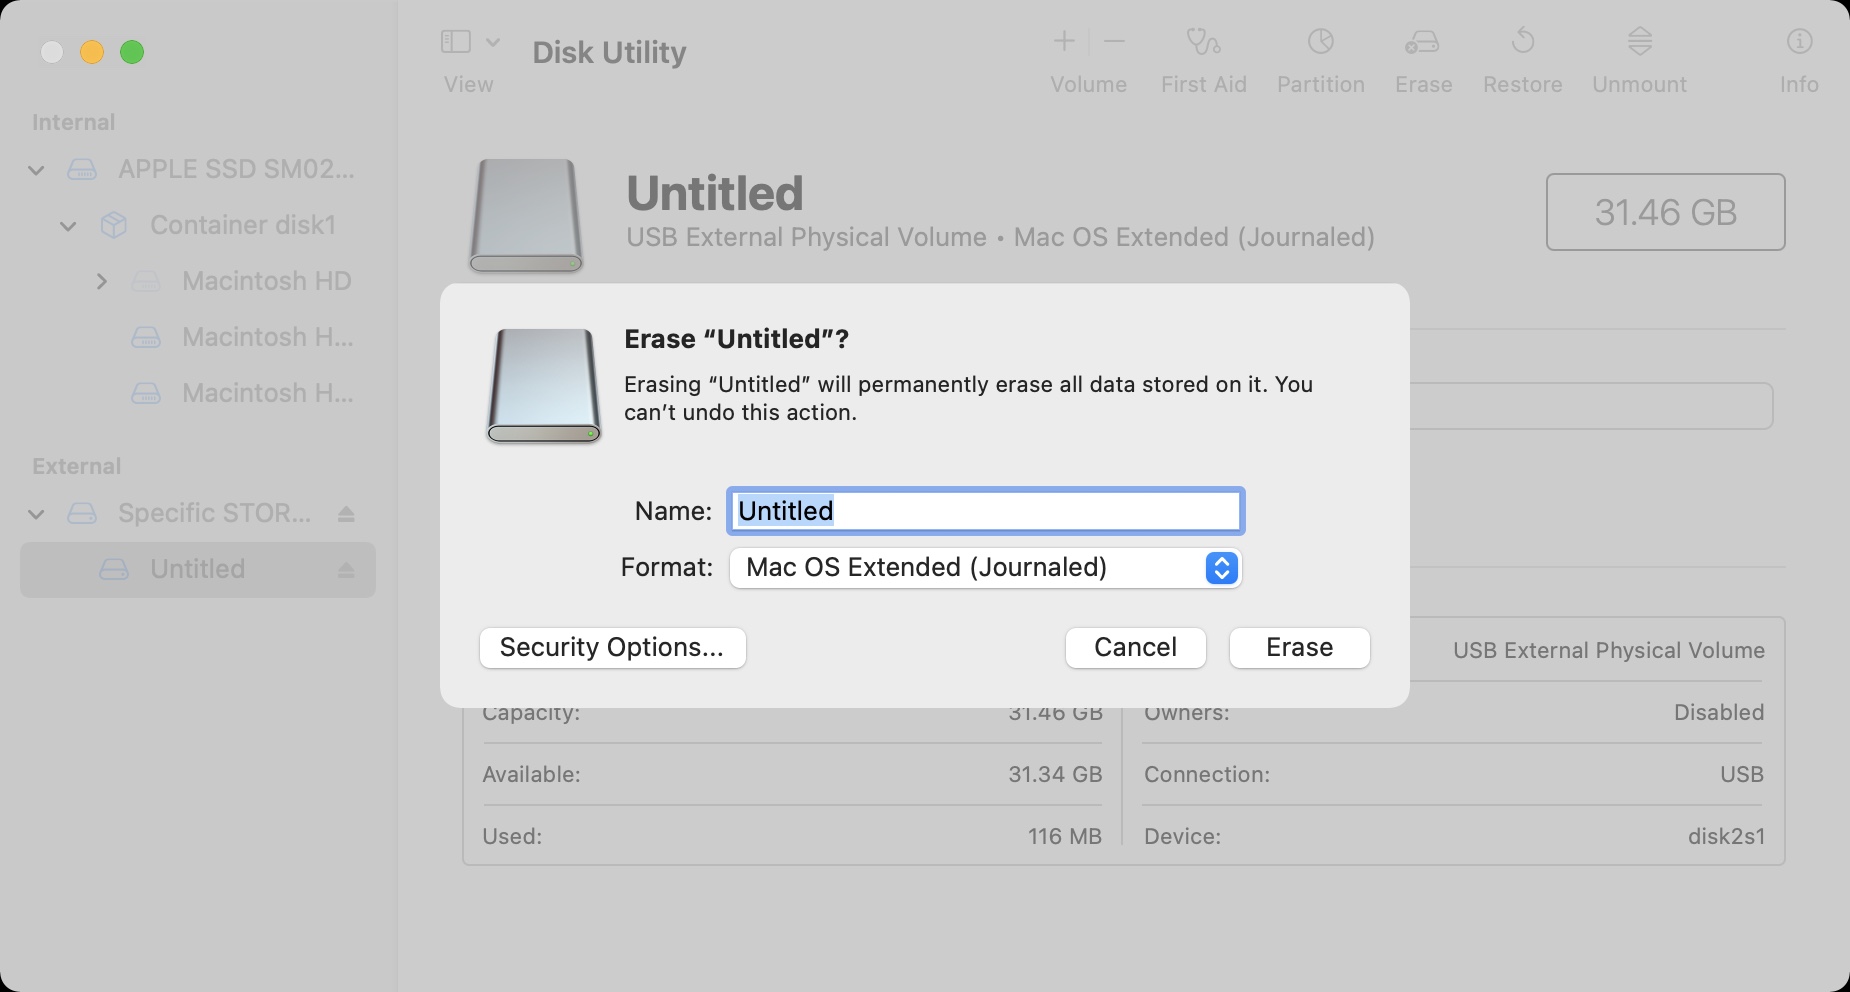
You need to erase the drive and format it to Mac OS Extended (Journaled). You can do this in the Mac’s Disk Utility app, which is in the Utilities folder inside Applications.
Get the macOS Monterey installer software
Monterey is available through Apple’s App Store. Click on the Get button on the upper right, and the Software Update system preference will open. Click the Download button. The download may take a while.
But after the download is complete and the installer launches, do not click the Continue button. Quit the installer by pressing Command-Q. Then go to your Applications folder and you should find an “Install macOS Monterey” app. You need to have the app there to make the bootable drive.
Use the Terminal to make a bootable macOS Big Sur installer drive
1. Connect the external drive to your Mac. In these instructions, I use Untitled as the name of the external drive. If your drive is named something else, you need to change Untitled to the name of your drive.
2. Launch Terminal. It’s in the Applications > Utilities folder.
3. Select and copy the following:
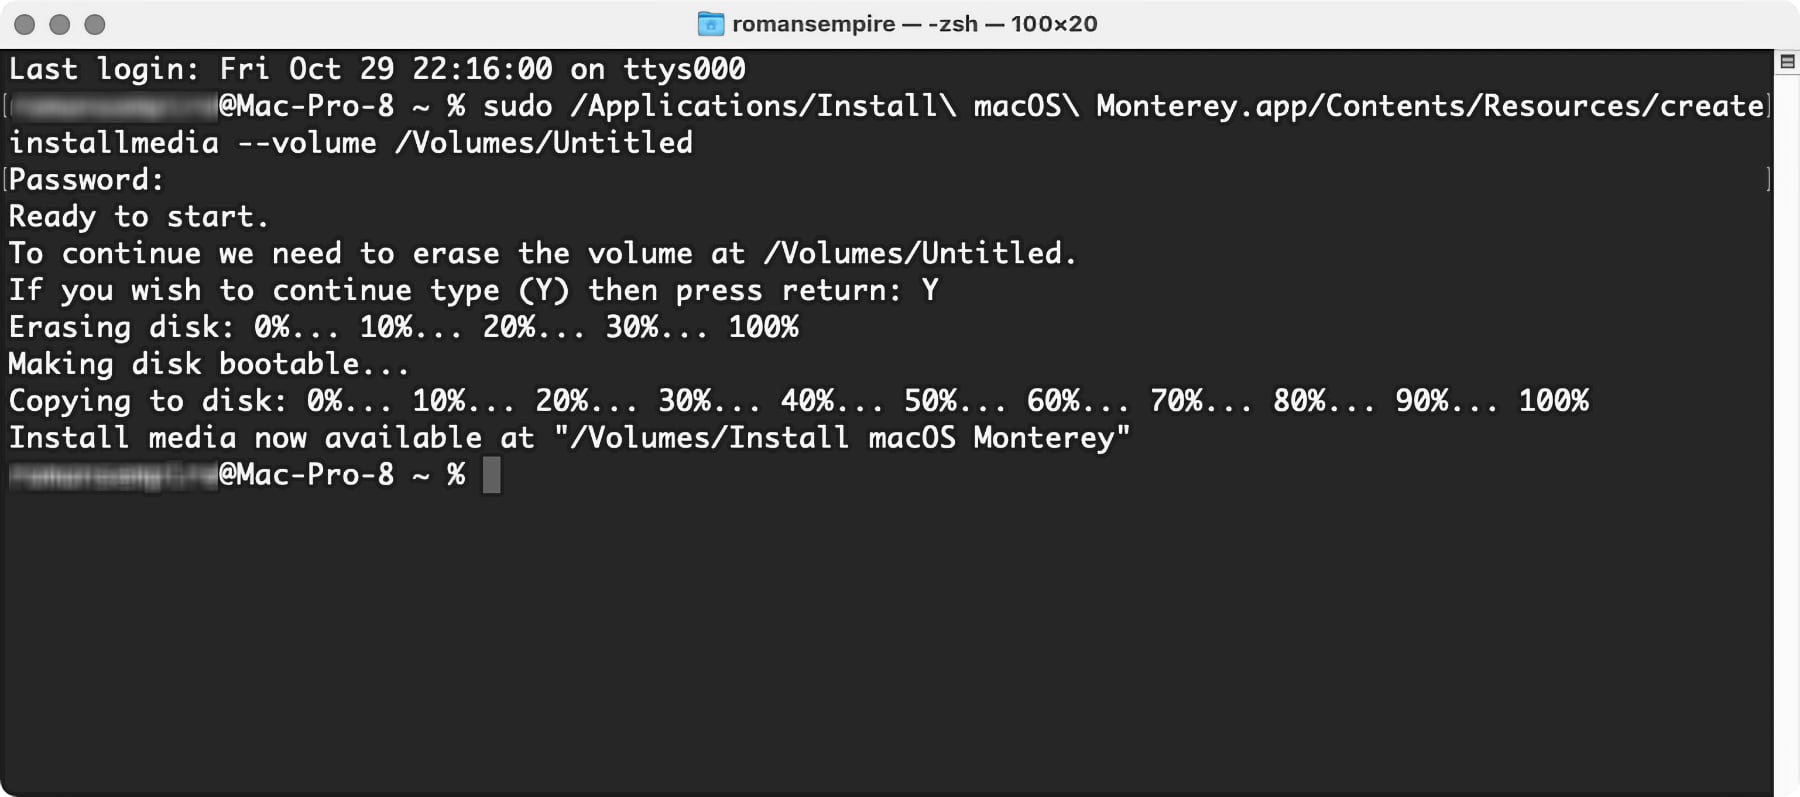
sudo /Applications/Install macOS Monterey.app/Contents/Resources/createinstallmedia --volume /Volumes/Untitled
4. Go back to Terminal and paste the copied code at the prompt. Remember to change Untitled to the name of your drive. Press Return.
5. Terminal may ask for your password. Enter it and press Return.
6. Terminal will warn you that your external drive needs to be erased. To proceed, type Y at the prompt and press Return.
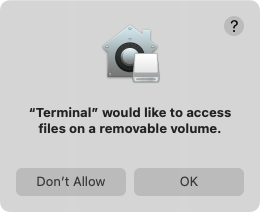
7. An alert may appear asking for permission for Terminal to access a removable drive. Click OK.
Apple
8. You’ll see that Terminal erases your drive and then copies the installer file to your drive. This will take a few minutes.
7. After copying, Terminal is done. You should see Terminal display a message saying your drive is ready for use.
IDG
How to boot from the installer drive
1. With the external drive plugged in:
- Intel Mac: Restart/power up the Mac and hold down the option key on the keyboard during the boot process.
- Apple silicon Mac: Restart/power up the Mac and hold down the Mac’s power button during the boot process.
2. The Startup Manager should appear. Select your external drive. It should appear as “Install macOS Monterey.”
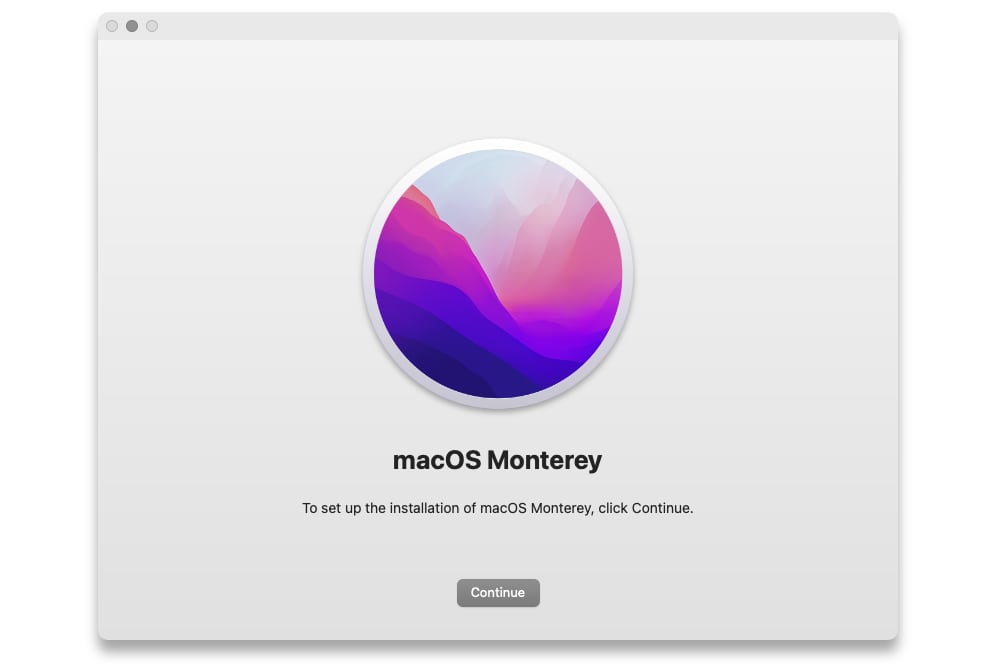
3. The Mac will boot into Recovery mode and the installer will launch automatically. You can Continue one with the installation from here. If you want to erase the drive first, quit the installer and run Disk Utility from the Recovery menu. You can then erase the drive, and then go back to the Recovery menu and install macOS Monterey.
Apple
If your Mac won’t boot from the installer
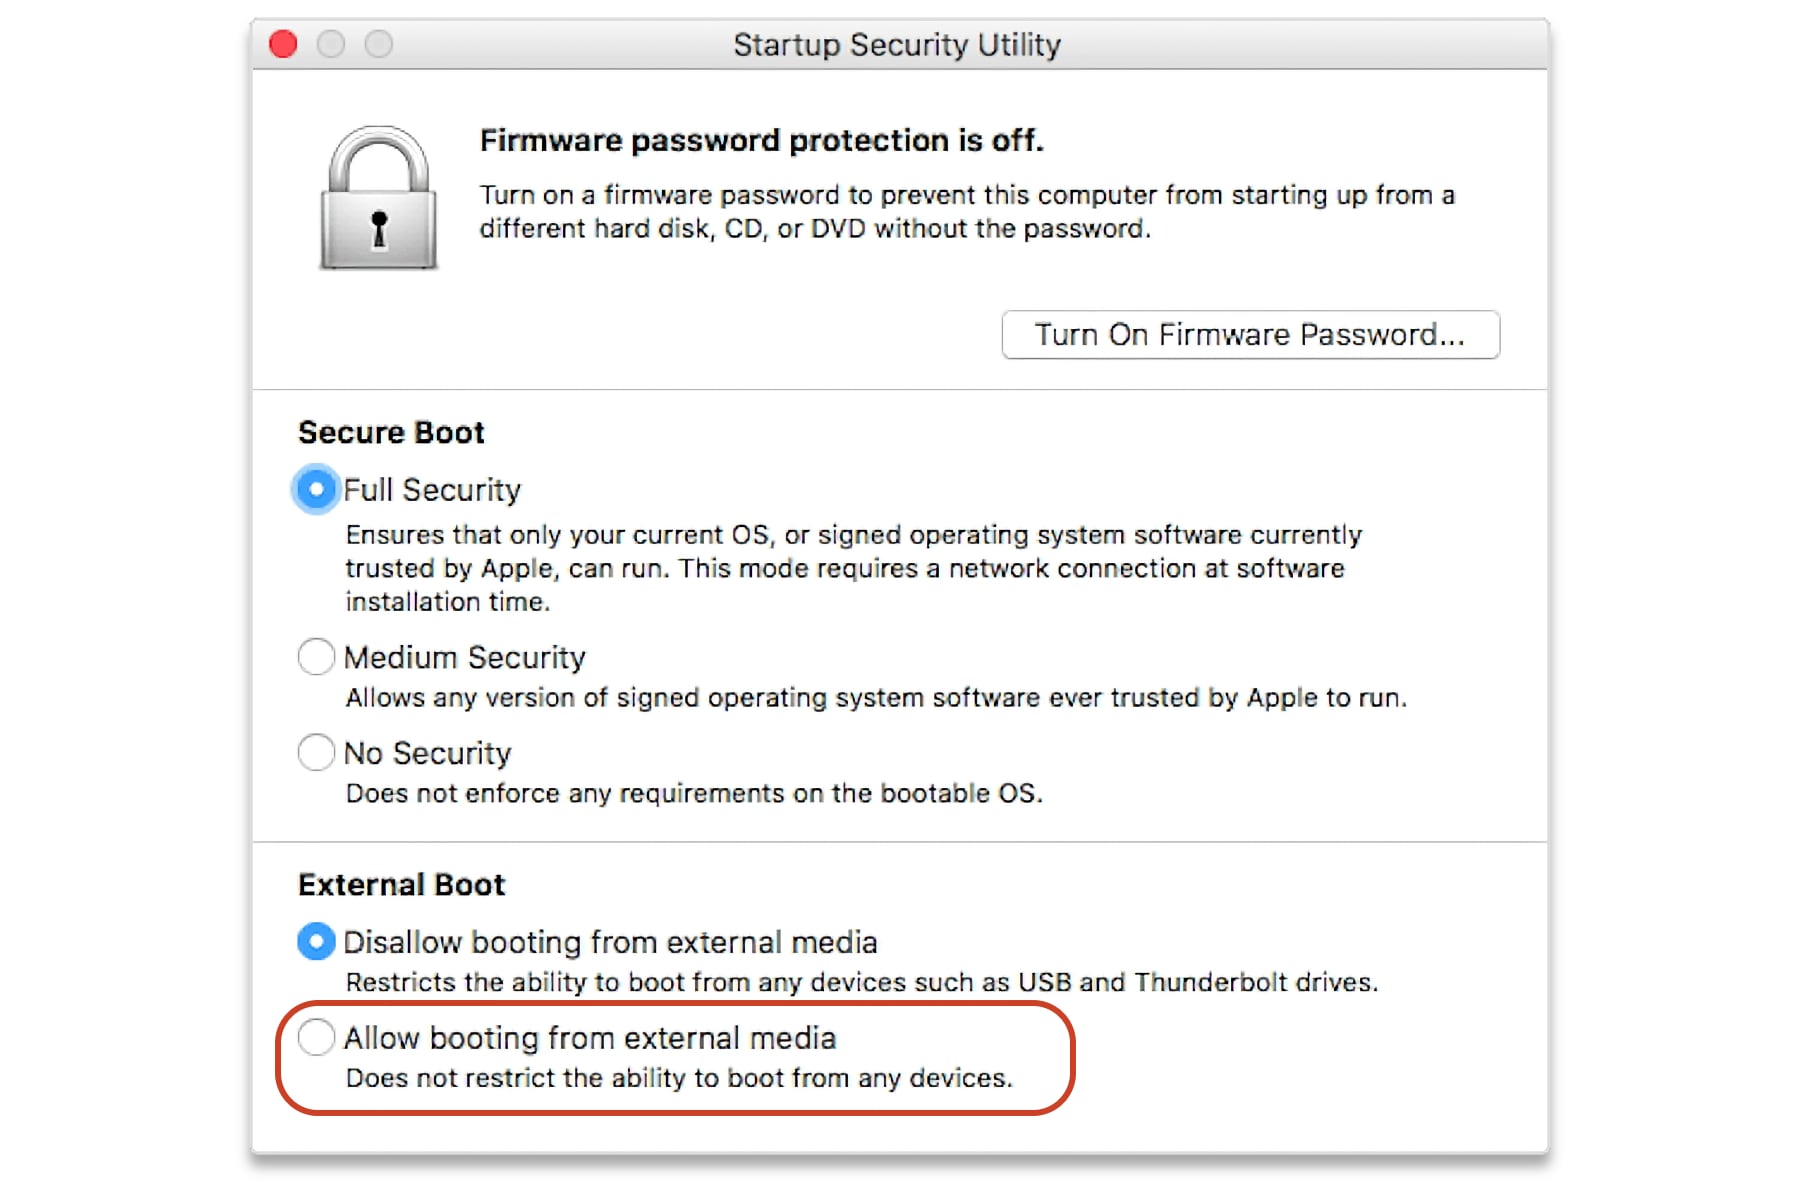
Macs with a T2 security chip (Intel Macs made since 2018) may not let you boot from the macOS Monterey installer. (Here’s a list of Macs with T2.) To fix this, there’s a setting in the Security Startup Utility that needs to be adjusted. Here’s how to do it.
1. Boot into Recovery mode by pressing Command+R while you turn on the Mac.
2. A list of users will appear. You need to select an account that you know the password for.
3. When the Mac is done booting, select the Utilities menu, and then select Startup Security Utility.
4. You may be asked to authenticate. Enter macOS Password, then choose an administrator account and enter the password.
5. After the app launches, look for the External Boot section at the bottom of the window and select, “Allow booting from external media.”
IDG
6. Quit the app and restart the Mac. You can try to boot from the installer drive as detailed in the instructions above.
Note: When you purchase something after clicking links in our articles, we may earn a small commission. Read our affiliate link policy for more details.
Roman has covered technology since the early 1990s. His career started at MacUser, and he’s worked for MacAddict, Mac|Life, and TechTV.

